How to vibe with Claude Code: A guide for scaredy cats
Here's the biggest secret in vibe coding:
The most challenging hurdle isn't coding or prompting. It's the environmental setup.
Why You Need a Real Setup
You've probably seen tools like Lovable, Bolt, or Replit Agent. They're amazing for getting something working in five minutes. You describe what you want, and boom—you have an app.
But you'll hit a wall.
Here's what those tools can't do well:
Complex apps. Once you need multiple pages, databases, user accounts, or anything beyond a simple prototype, the AI starts tripping over itself. It doesn't have enough context for how everything connects.
Custom code. Want to integrate a specific API? Use a library the tool doesn't support? You're stuck.
Real deployment. Getting your app from their sandbox to a real website with a real domain gets messy fast.
Ownership. Your code lives on their platform. You're renting, not owning.
These tools are great for prototyping and learning. But if you want to build something real—something you can customize, scale, and actually own—you need to graduate to a local development setup.
And here’s the good news: once you get through setup (30 minutes, maybe an hour if things go sideways), you'll have a real coding environment, with Claude Code running locally, able to see your entire project and understand how files connect.
We fully believe you can do this on your own, but if you can't get through it on your own for some reason, let us know. We have devs at Sandbox who can help you get up and running.
Step 0: Create a Claude Account
Before installing anything, set up your Claude account at claude.ai.
We recommend a paid plan. The free tier works, but you'll hit usage limits quickly and won't have access to the most advanced models. When you're vibe coding, you want the best models available—they make fewer mistakes and understand complex requests better. I’ve seen so many people give up on vibe coding before trying more advanced models.
The different paid tiers are all about usage limits—how much you can use Claude advanced models before you have to wait. Start with the lowest paid plan and upgrade later if you find yourself hitting the limits.
Once your account is set up, move on to the installation.
The Setup
First, Understand the Terminal
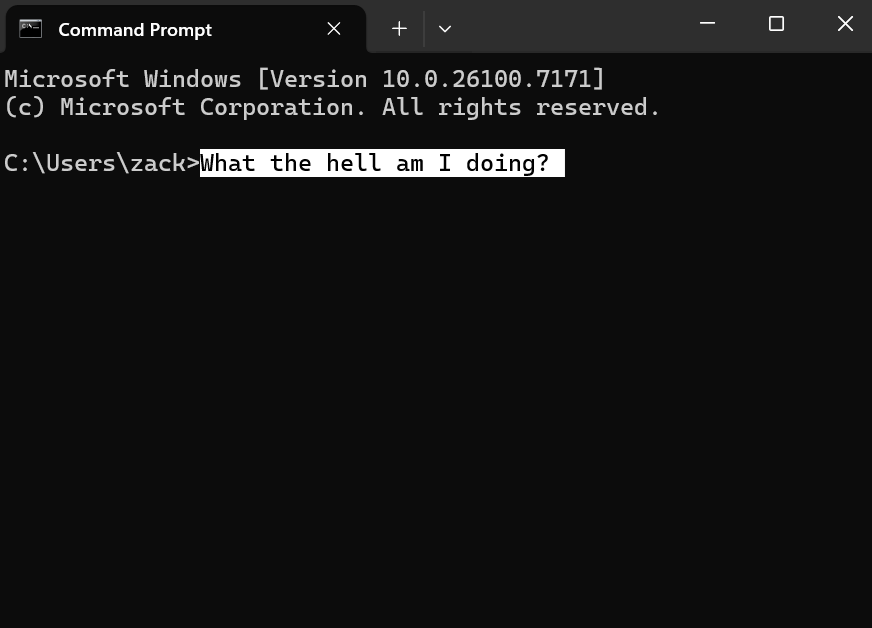
The terminal looks like a hacker's computer from a movie, but don't be afraid. Here, I will screenshot it small for you so it doesn’t feel intimidating:
The CMD terminal on a Windows machine
For our purposes, you only need to understand that the terminal is just an archaic way of navigating the folders on your computer, like you do on Windows or MacOS. And you only need to know three commands to do that:
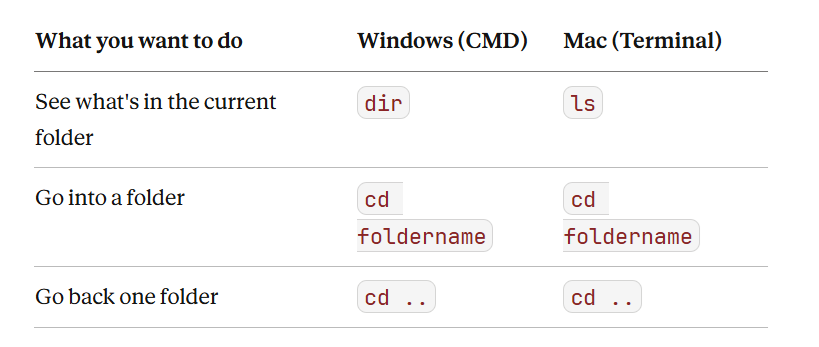
Terminal commands
That's it. Anything else you need, just go to the web and ask ChatGPT or Claude
To open the terminal:
Windows: Press the Windows key, type "cmd", hit Enter
Mac: Press Cmd + Space, type "Terminal", hit Enter
Install the Tools
1. Download and install VS Code
https://code.visualstudio.com/
This is where you'll see your code and talk to Claude. Just click through the installer (Mac users: drag it to Applications).
2. Install Git
Git tracks changes to your code and lets you save it to GitHub. Claude Code also needs it.
Windows: Download from https://git-scm.com/downloads and run the installer. Default options are fine.
Mac: Open the Terminal and run:
/bin/bash -c "$(curl -fsSL https://raw.githubusercontent.com/Homebrew/install/HEAD/install.sh)"Then:
brew install git(Homebrew is a package manager—it installs stuff for you. You'll use it again in a second.)
3. Install Node.js
You don't need Node.js to install Claude Code anymore. But you will need it when you create web projects later (like a Next.js app). So let's install it now while we're at it.
Windows: Download from https://nodejs.org/ (get the LTS version) and run the installer.
Mac: In Terminal:
brew install node4. Install Claude Code
Mac/Linux:
Step 1: Open Terminal
Press Cmd + Space, type "Terminal", and hit Enter.
Step 2: Run the installer
Paste this command and hit Enter:
curl -fsSL https://claude.ai/install.sh | bashThat's it. This downloads and installs Claude Code directly — no Node.js or Homebrew required.
Alternatively, if you already use Homebrew, you can run:
brew install --cask claude-codeWindows (PowerShell):
Step 1: Open PowerShell (similar to the terminal)
Press the Windows key, type "PowerShell", and hit Enter.
Step 2: Run the installer
Paste this command and hit Enter:
irm https://claude.ai/install.ps1 | iex
5. Open VS Code and find it’s terminal
Yes, this is another terminal, but it’s different than the other one I showed you. This one is harder to find (for some reason) It's hiding.
Inside VS code, go to top menu bar (may be hiding, if so just move mouse to top) then Terminal > New Terminal
This is the terminal inside VS Code where you'll work with Claude.
It should looks like this:
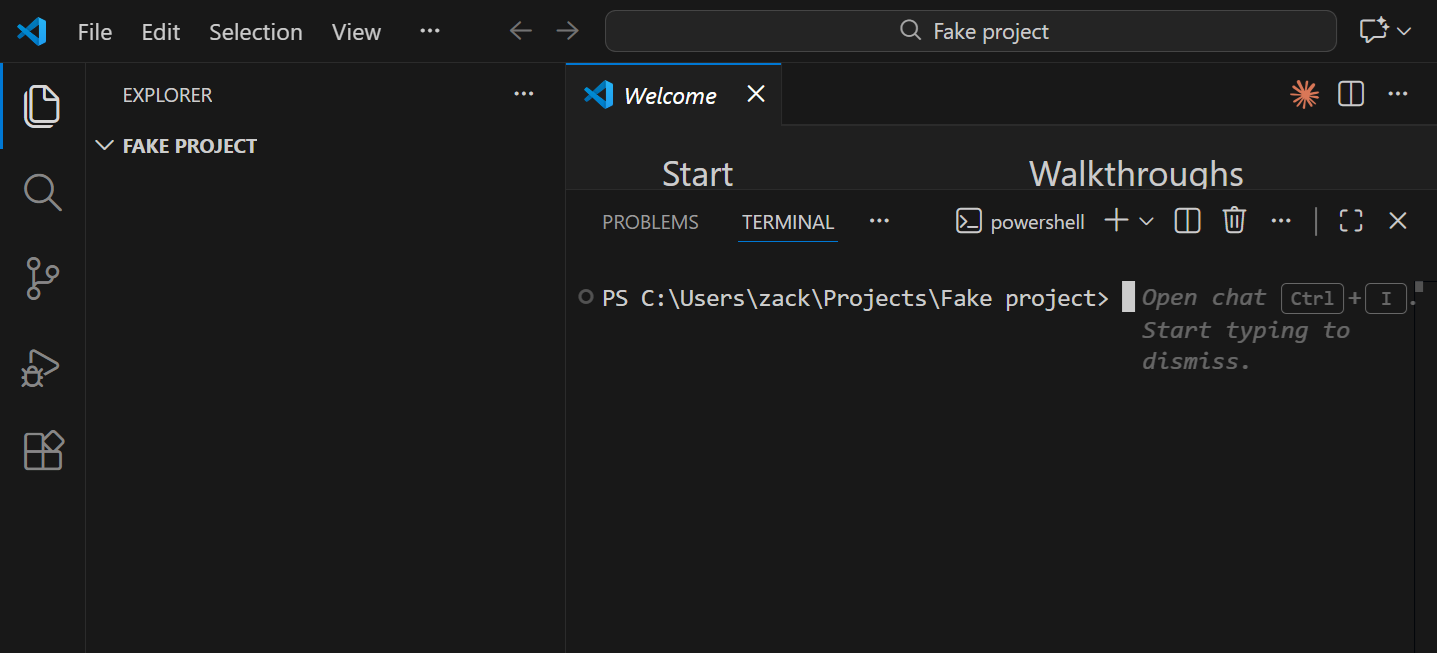
Terminal in VS code
6. Connect to your Claude account
In the VS Code terminal, type:
claudeIt'll open a browser window to log in. You can use your existing Claude Pro or Max subscription — no separate API billing required. Follow the prompts, log in, then try this:
claude hi!The agent should respond with something like "How can I help you today?"
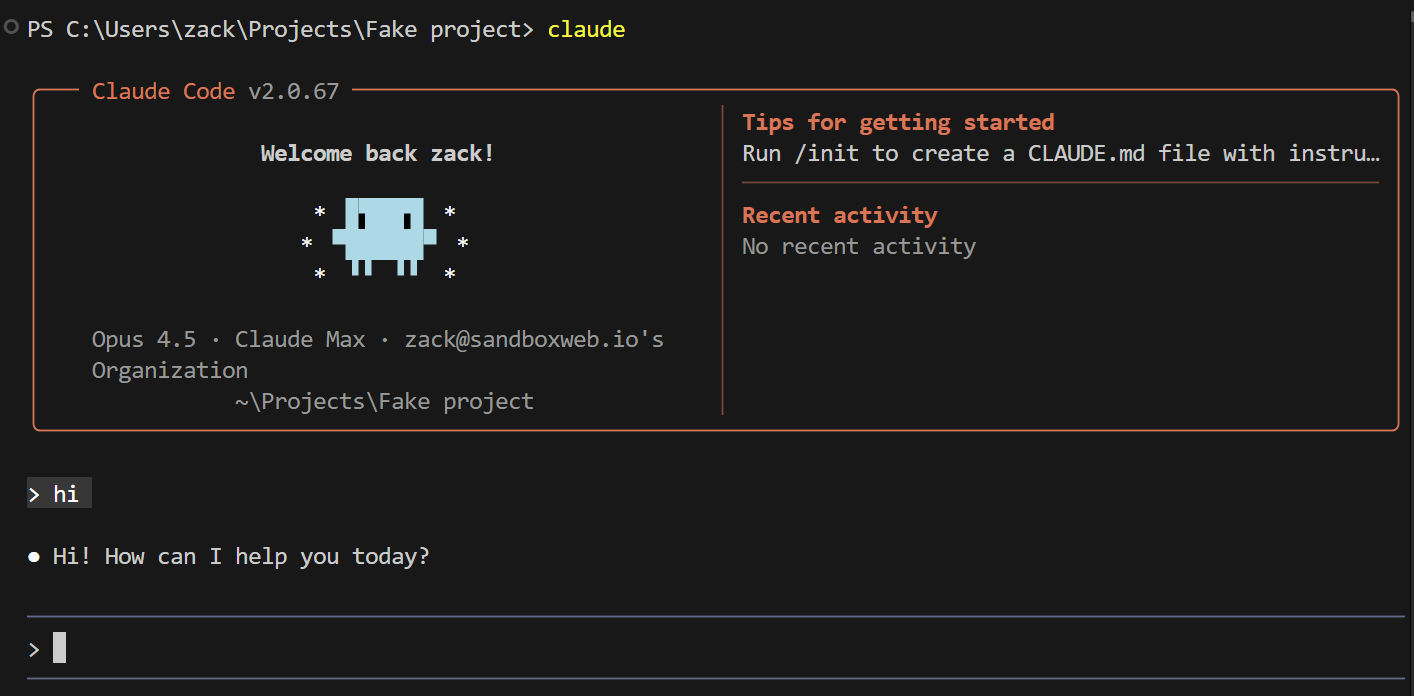
Claude code! Isn’t it fun?
Create Your First Project
Don’t even worry about what the project will be about. You’ll figure that out later. For now, we’re just going to create the shell. Think of it like the blank canvas of a painting…
In VS Code, use Terminal -> New Terminal to open a second terminal (yes you can have multiple terminals running)
Enter this:
npm create next-app@latest my-app --typescriptIt'll ask you some questions. Just hit Enter to accept the defaults.
Then:
cd my-app
npm run dev
Open your browser and go here: http://localhost:3000/
You should see the default Next.js page
Now it’s worth noting…we could have baked this into the script, but you’ll need to create a new project whenever you want to build something new, and it wouldn’t make sense to run the whole script just to create a new project. Also, you may want to put your project files in a certain folder. To do this, use the terminal commands (see the manual section in this post) to move into your folder of choice and then run the full npm command above from that folder. Lastly, you can (and should) name it something other than “my-app”. Call it whatever you want.
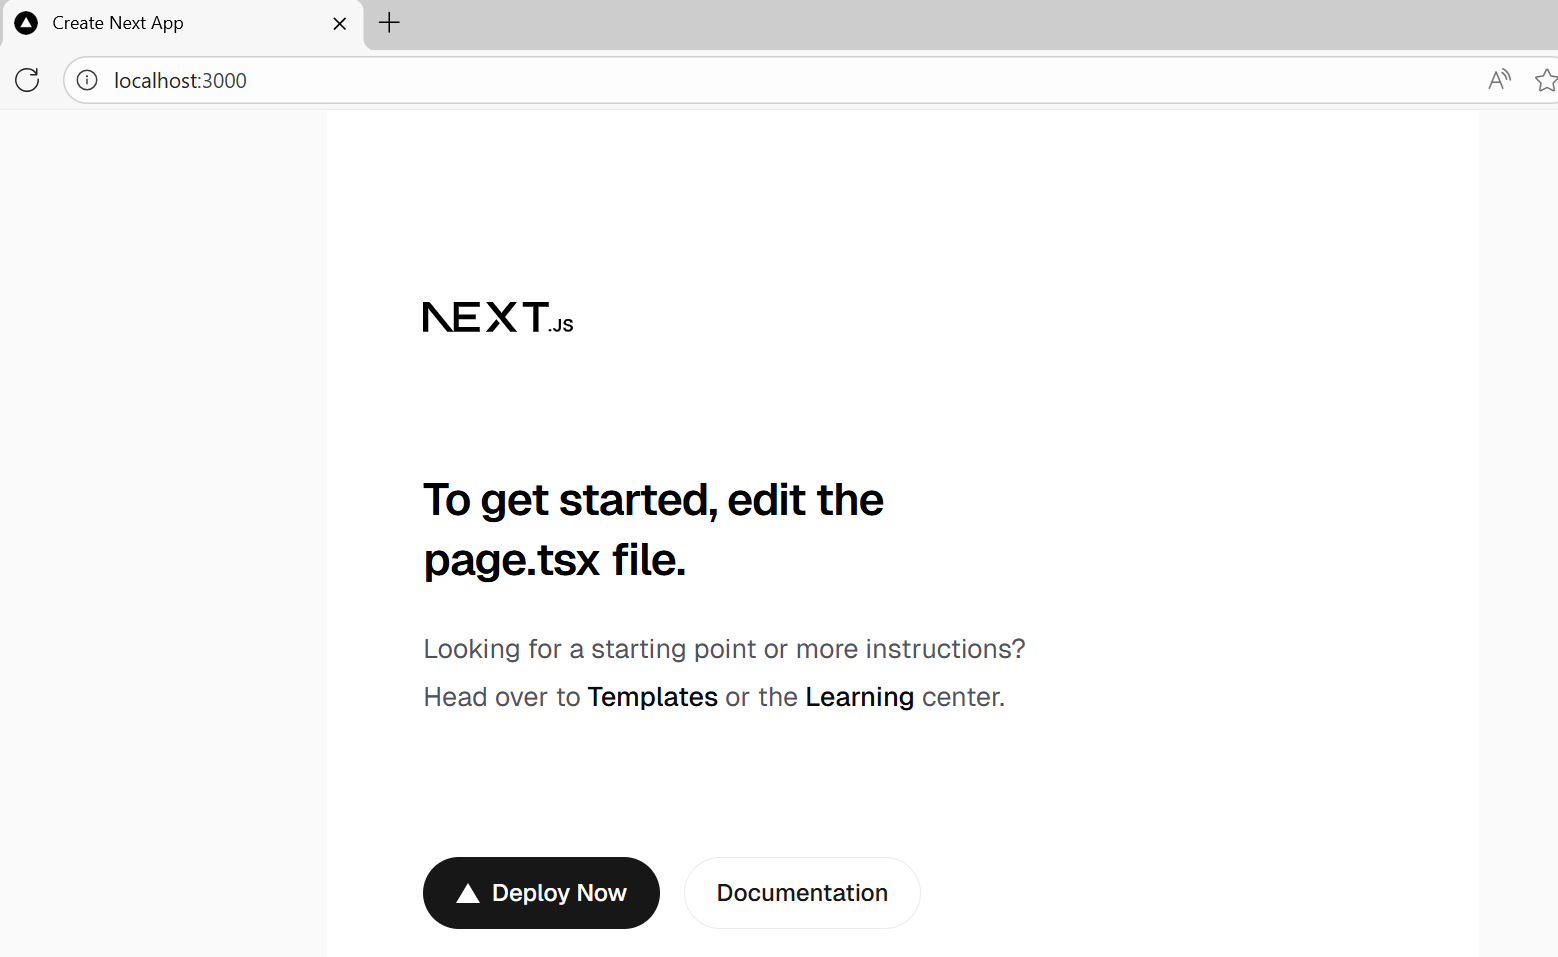
Next js empty app
Now, go back to the terminal where you said hi to Claude and enter this:
update the next js default home page to show only a header: "I am now a certified vibe coder" You'll know it worked when you see this:
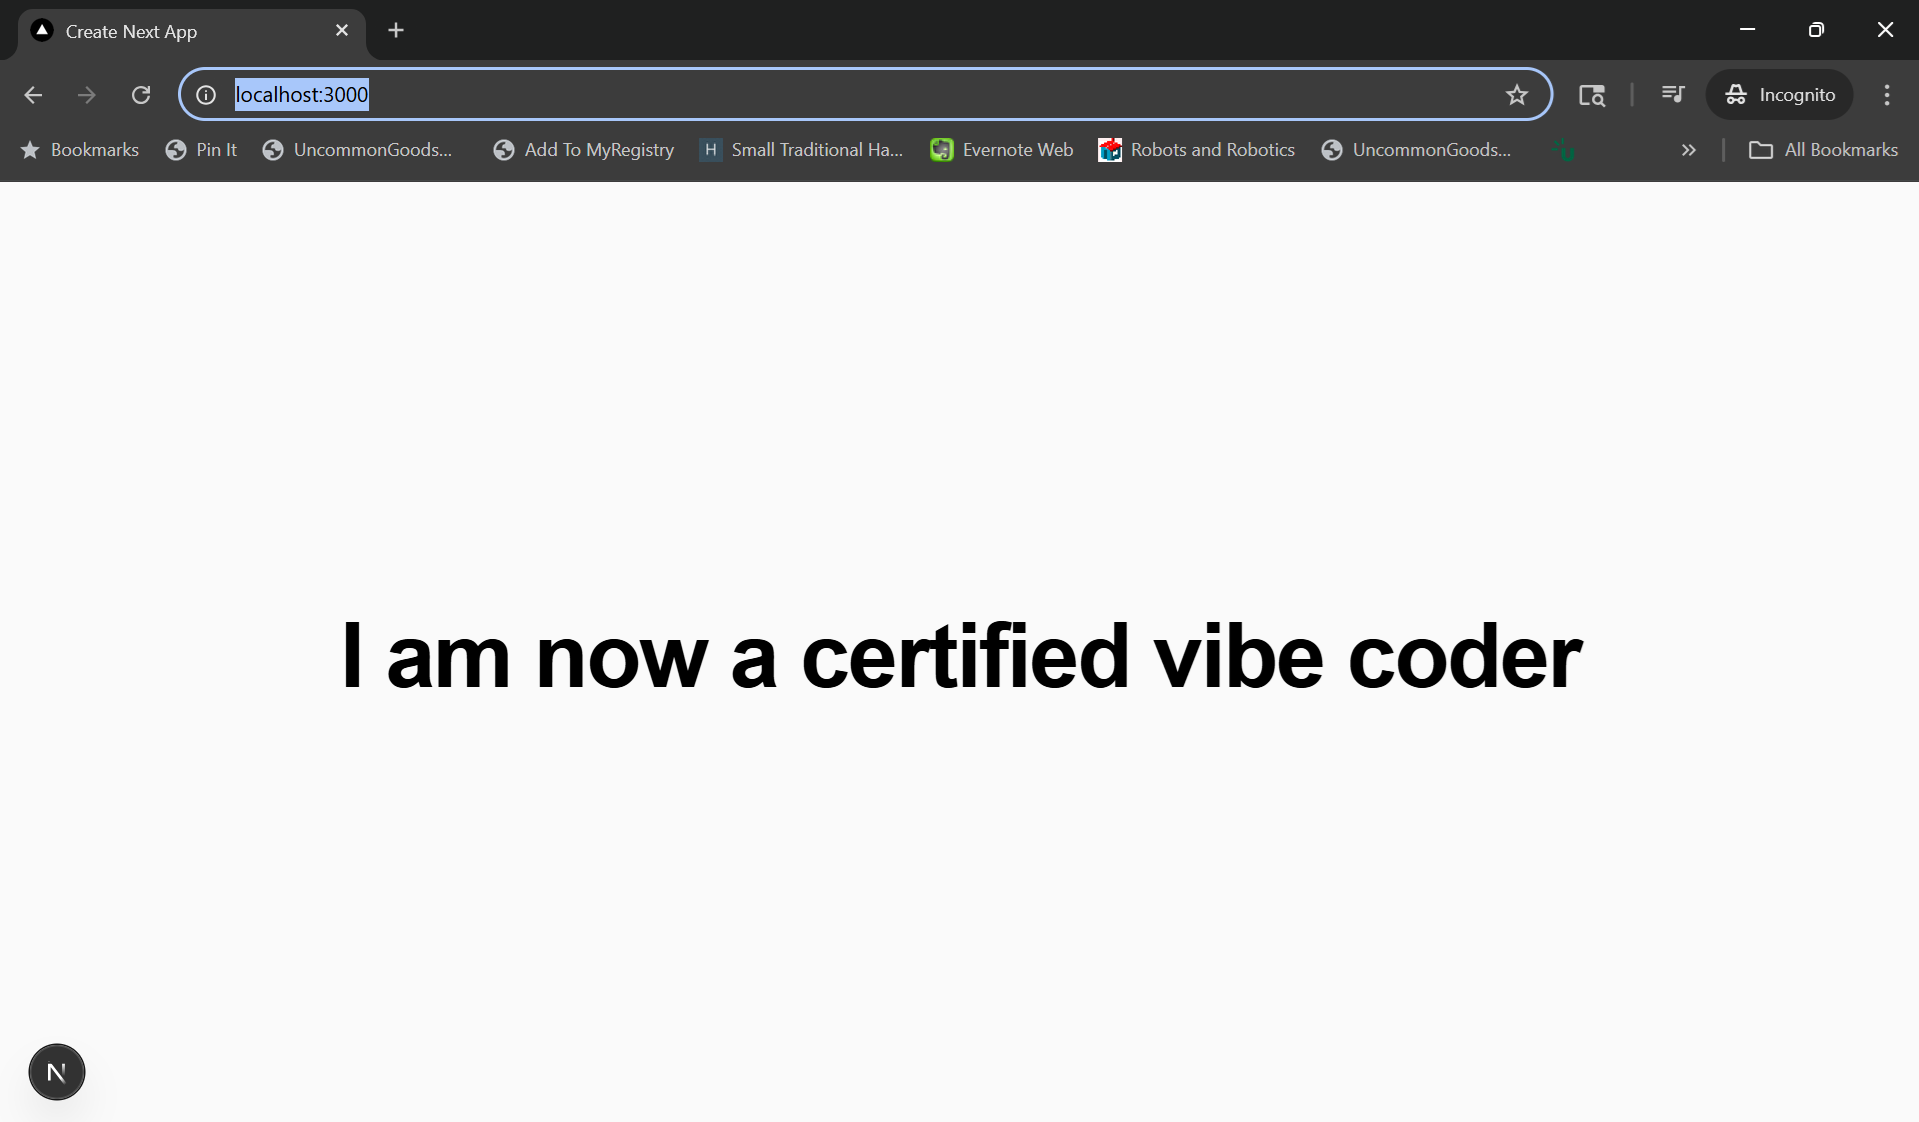
Welcome the the club
Now, you're ready to build your dream. Just tell Claude what you want. The world is your oyster.
And if you made it this far, do us a favor. Post your certified screenshot ☝️on Linkedin, tag us @ Sandbox Web, and let the world know you just tackled the hardest part of vibe coding.
Hungry to learn more?
I’ve written a short intro to Github below, which is useful if you want to save your code in the cloud, and eventually deploy it. However, you don’t need to save code to Github. You can just start vibing with Claude now and do it later. As you work in VS code, your code is saved locally on your computer. As long as you don’t drop your computer in the bath tub or leave it at Starbucks, your code should be safe.
Save Your Code to GitHub
GitHub is where your code lives online. It's your backup, your version history, and how you'll eventually deploy your app. Set this up now so you don't lose your work.
One-time setup
1. Create a GitHub account
https://github.com/ — sign up if you haven't.
2. Tell Git who you are
In your terminal, run these two commands (use your actual name and email):
git config --global user.name "Your Name"
git config --global user.email "your@email.com"
Save your project
1. Create a new repository on GitHub
Go to https://github.com/new, give it a name (like my-app), keep it public or private (your choice), and click Create Repository.
Don't initialize with a README—your project already has files.
2. Connect your local project to GitHub
GitHub will show you commands after you create the repo. In your VS Code terminal (make sure you're in your project folder), run:
git remote add origin https://github.com/YOUR-USERNAME/YOUR-REPO-NAME.git
git branch -M main
git push -u origin main
Your code is now on GitHub.
Saving changes (you'll do this a lot)
Every time you make progress you want to keep:
git add .
git commit -m "Describe what you changed"
git push
That's it. Three commands. Your code is backed up.
Pro tip: Commit often. "Added login page" is a good commit. "Did a bunch of stuff" after eight hours of work is not. Small, frequent saves mean you can always go back if something breaks.
When Things Go Wrong
They will. You'll see angry red text. That's normal.
Copy the entire error message and paste it to ChatGPT (assuming you didn’t get Claude working yet) LLMs are surprisingly good at debugging install issues. Just say "I got this error while trying to [whatever you were doing]" and paste the red text.
You can also copy images of your problems into ChatGPT or Claude, but for Claude, you’ll need to save the image in a folder and then drag it in.
Don't rage quit at step 4. The setup is the hardest part. Once you're through it, you're through it.
And remember, if you can't get through it on your own, we can help. We have devs at Sandbox who can get you up and running.
Now, go build something.